# Rendering
## Goals
- Understanding the rendering pipeline.
- Knowing the differences between renderers.
- Knowing how to set up a render camera.
- Create render images based on chosen renderer.
____________________
Rendering is often the final step of the 3D animation pipeline and its quality is crucial to the strong completion of your project.
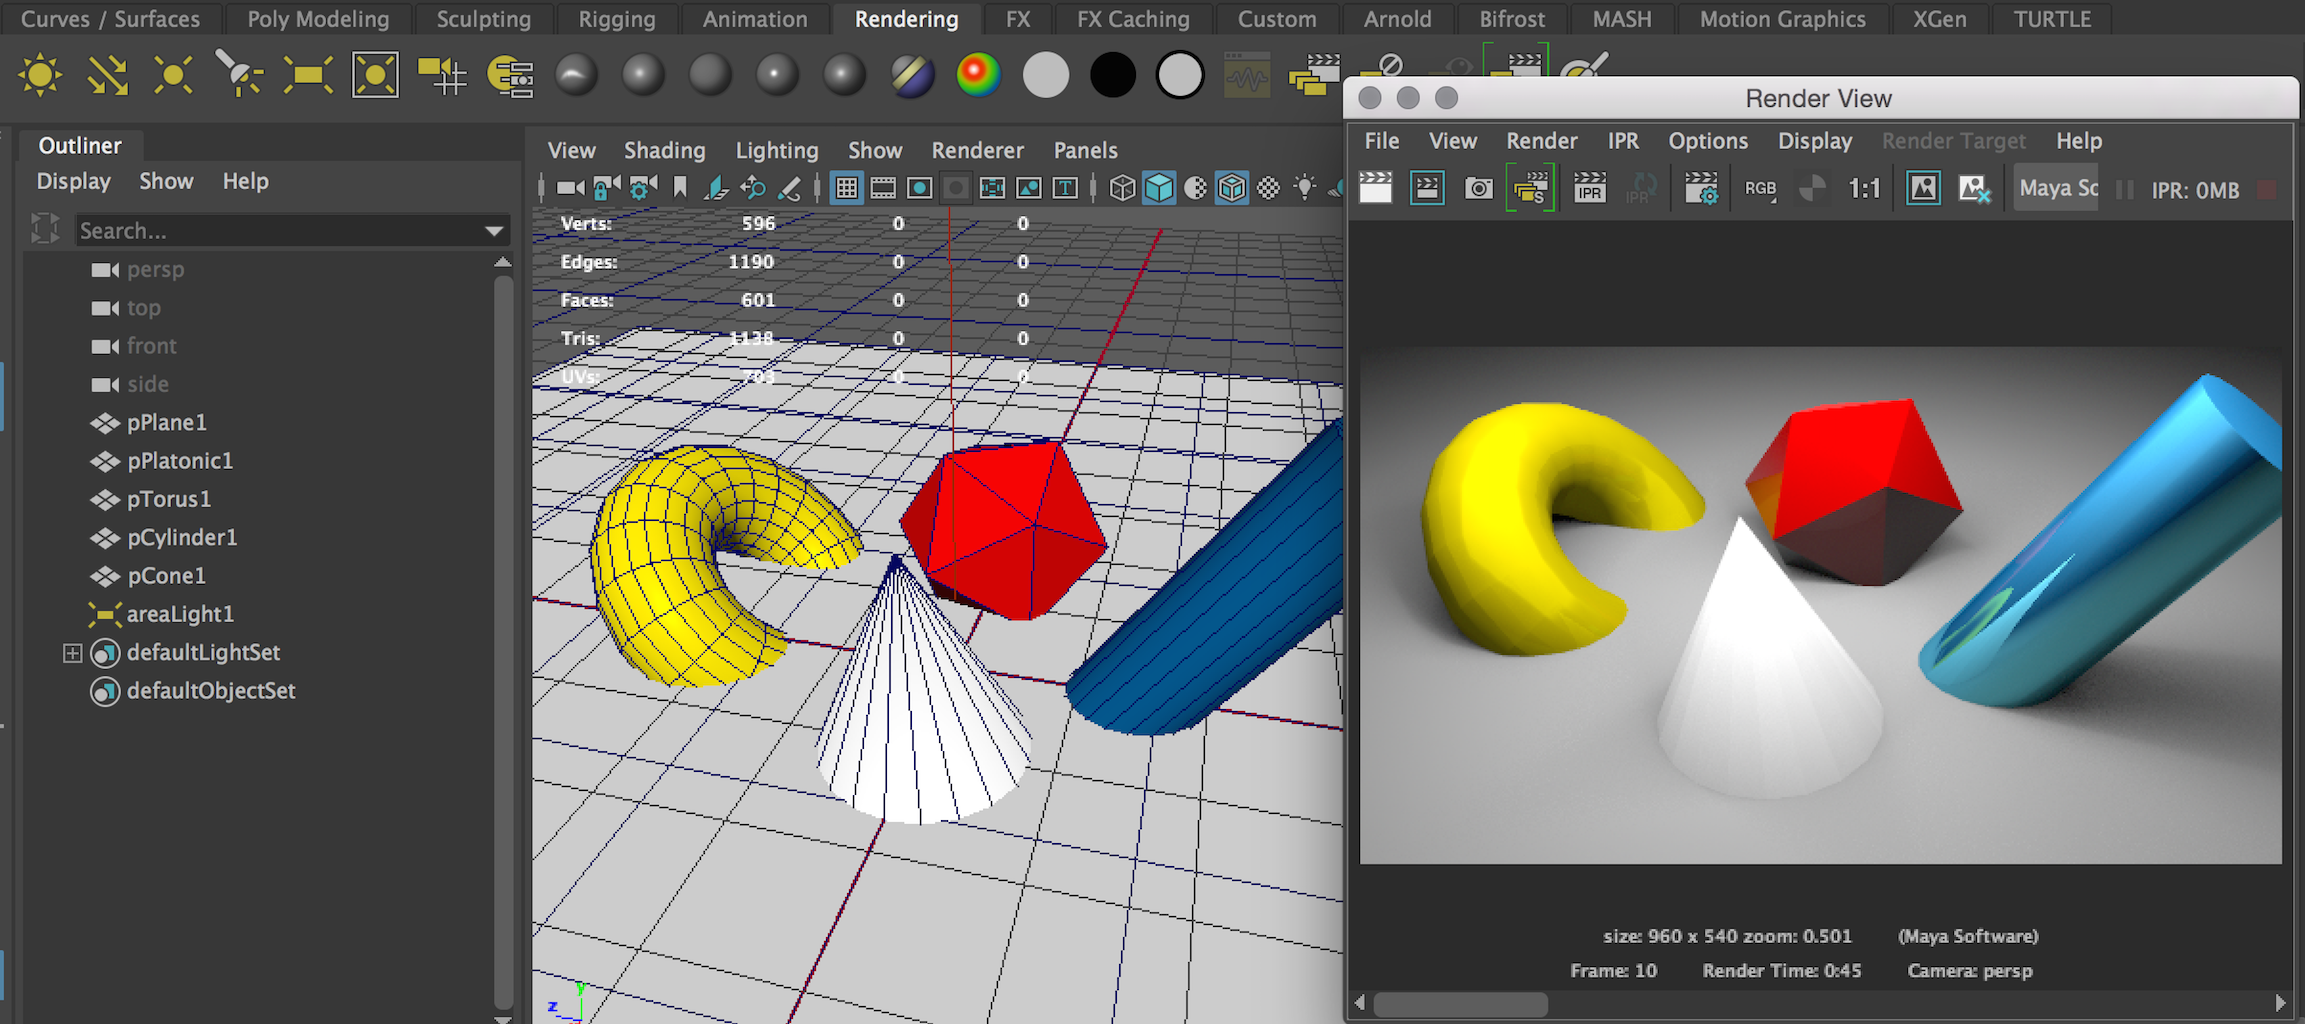
## Render view

Render view window: Windows / Rendering Editors / Render View
## Render settings
- Render Settings: Windows / Rendering Editors / Render Settings
### Common and specific renderer settings
- Common: attributes for all renderers include file name, image format, camera choices, image size and so on.
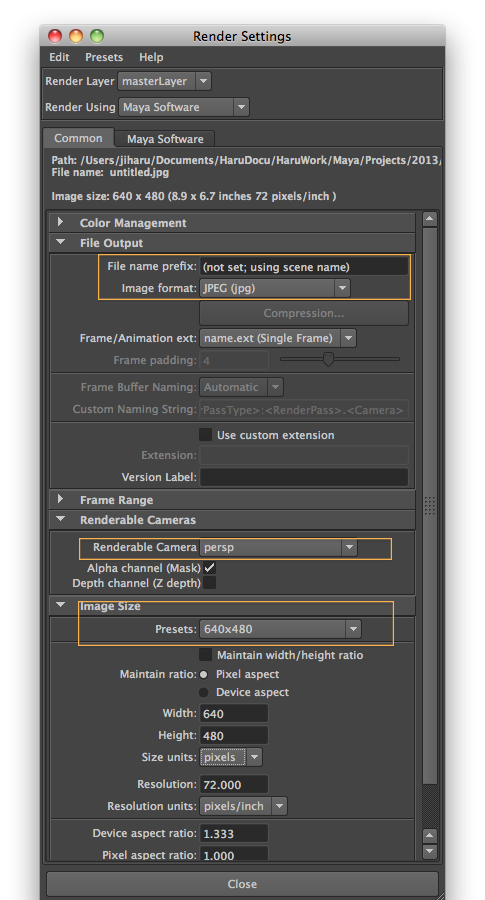
- Specific: attributes for a specific renderer such as hardware, software, vector rendering, TURTLE, and Arnold renderer.

Example: Maya render specific attributes.
## Cameras in Maya.
>*As with all filmmaking, the story is told through the camera.*
Although the technical aspects of using the cameras are not difficult to learn, mastering the art of virtual cinematography can take years of practice.
## Camera properties:
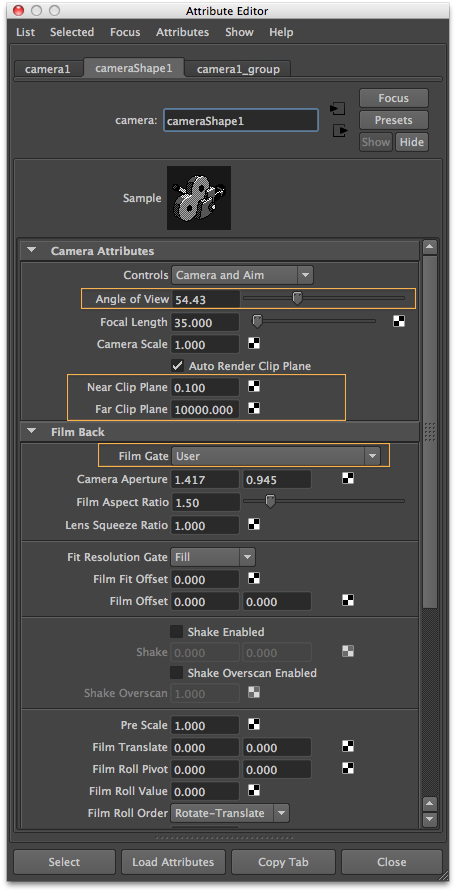
### Angle of view

In this simulation, adjusting the angle of view and distance of the camera while keeping the object in frame results in vastly differing images. At distances approaching infinity, the light rays are nearly parallel to each other, resulting in a "flattened" image. At low distances and high angles of view objects appear "foreshortened". [Wikipedia: angle of view](https://en.wikipedia.org/wiki/Angle_of_view#/media/File:Camera_focal_length_distance_house_animation.gif)
### Two aspect ratios: camera and film (rendering)

The Academy ratio of 1.375:1 (abbreviated as 1.37:1) is an aspect ratio of a frame of 35mm film when used with 4-perf pulldown. It was standardized by the Academy of Motion Picture Arts and Sciences as the standard film aspect ratio in 1932, although similar-sized ratios were used as early as 1928. [Wikepedia: Academy ratio](https://en.wikipedia.org/wiki/Academy_ratio)
________________________________
# Indirect (global) illumination
## Indirect (global) vs. direct illumination

Indirect light is all the inter-reflected light in a scene. Global illumination is an approximation of real-world indirect light transmission.
Direct (local) illumination is the light provided only directly from a light source (such as a spot light). Direct light is emitted from a light source and travels in a straight path to the illuminated point on a surface.
Ray tracing is a technique for generating an image by tracing the path of light through pixels in an image plane and simulating the effects of its encounters with virtual objects. The technique is capable of producing a very high degree of visual realism, but at a greater computational cost. [Wikipedia](http://en.wikipedia.org/wiki/Ray_tracing_(graphics))

In reality, when a ray of light hits an opaque surface, it is **either absorbed or reflected (or a little of both) by the surface**. If the light ray is reflected, it reenters the environment and continues to bounce off reflected surfaces until it is absorbed by another surface. Bounced light rays are **indirect illumination**.
Perhaps **80 percent of the illumination** in an environment is contributed by indirect (global) illumination, and simulating its effect is critical to creating realistic rendering.

Image from [aversis.be/tutorials/vray/](http://www.aversis.be/tutorials/vray/vray-20-gi-methods.htm)
## Physically Based Rendering
Physically based techniques attempt to simulate reality by using principles of physics to model the interaction of light and matter. Rendered scenes are based on physically accurate lights, materials, and light transport (i.e., Global Illumination).
In physically based rendering, realism is usually the primary goal. There is less tweaking and fewer parameters to get the correct results. However the computational cost usually becomes a lot more expensive and we need to understand physical lighting phenomena.
## Physically Based Rendering in Arnold
Arnold is **a physically based renderer**, but it also lets you break the rules and create materials and lights that do not obey the laws of physics if you wish.
Designing materials based on physical laws can tremendously simplify shading and lighting, even when we do not necessarily strive for realism or physical accuracy. **By understanding and applying a few principles** we can make images that are more believable, and create materials that behave more predictably in different lighting setups.
### Arnold references
- [Linda.com: Maya 2018 Essential Training](https://www.lynda.com/Maya-tutorials/Maya-2018-Essential-Training/604210-2.html?srchtrk=index%3a3%0alinktypeid%3a2%0aq%3aArnold+%2b+maya%0apage%3a1%0as%3arelevance%0asa%3atrue%0aproducttypeid%3a2)
- 9: Create Materials
- Work with Arnold materials
- Opacity and refraction in Arnold
- 12: Render in Arnold
- [Arnold for maya user guide 4](https://support.solidangle.com/display/AFMUG/Understanding+Physically+Based+Rendering+in+Arnold)
- [Learning scenes](https://support.solidangle.com/display/AFMUG/Learning+Scenes)
- [Light](https://support.solidangle.com/display/AFMUG/Lights)
- [Material library](https://support.solidangle.com/display/A5AFMUG/Material+Library)

This material library is meant as a beginners guide for the type of material effects that are possible when using the Standard Surface shader. Bear in mind that the values used here are not based on any physical, real world values and are meant only as a starting point for beginners to explore. It is embedded as presets for AiStandardSurface material.
The **Arnold Standard Surface** shader is a physically-based shader capable of producing many types of materials. It includes a diffuse layer, a specular layer with complex Fresnel for metals, specular transmission for glass, subsurface scattering for skin, thin scattering for water and ice, a secondary specular coat, and light emission.

## IBL: Image Based Lighting
[Wikipedia: IBL](https://en.wikipedia.org/wiki/Image-based_lighting)
Image-based lighting (IBL) is a 3D rendering technique which involves capturing an omnidirectional representation of real-world light information as an image, typically using a specialized camera. This image is then projected onto a dome or sphere analogously to environment mapping, and this is used to simulate the lighting for the objects in the scene. This allows highly detailed real-world lighting to be used to light a scene, instead of trying to accurately model illumination using an existing rendering technique.
Image-based lighting often uses high dynamic range imaging for greater realism, though this is not universal.
### HDRI: High Dynamic Range Image
[Wikipedia: HDRI](https://en.wikipedia.org/wiki/High-dynamic-range_imaging)
High-dynamic-range imaging (HDRI) is a high dynamic range (HDR) technique used in imaging and photography to reproduce a greater dynamic range of luminosity that is possible with standard digital imaging or photographic techniques. The aim is to present a similar range of luminance to that experienced through the human visual system.
### Comparison with traditional digital images
Information stored in high-dynamic-range images typically corresponds to the physical values of luminance or radiance that can be observed in the real world. This is different from traditional digital images, which represent colors as they should appear on a monitor or a paper print. Therefore, HDR image formats are often called scene-referred, in contrast to traditional digital images, which are device-referred or output-referred.
HDR images often don't use fixed ranges per color channel—other than traditional images—to represent many more colors over a much wider dynamic range. For that purpose, they don't use integer values to represent the single color channels (e.g., 0-255 in an 8 bit per pixel interval for red, green and blue) but instead use a floating point representation. Common are 16-bit (half precision) or 32-bit floating point numbers to represent HDR pixels.
### Using Arnold SkyDome Light
- To obtain HDRI
- [sIBL Archive](http://www.hdrlabs.com/sibl/archive.html)
Licence: All sIBL-sets on this page, including the images within, are licensed under the Creative Commons Attribution-Noncommercial-Share Alike 3.0 License.
Remember: always mention where you got them from.
- [A light probe image by Paul Debevec and Dan Lemmon](http://ict.debevec.org/~debevec/Probes/)
- [hdrihaven](https://hdrihaven.com/hdris/category/?c=all)
### Using Arnold Photometric Light
- To obtain IES
- [Visual Photometric Tool™](http://www.visual-3d.com/tools/photometricviewer/)
______________________
## Batch rendering
A batch file is a set of commands given to the computer to do, one after another. Using batch files, you can queue several rendering tasks at the same time, so that once one is finished, the next begins. Batch rendering often occurs as a different thread or process, as if it were a different program running in the background, so Maya allows you to keep working while the batch is rendering.
Note that if you want to use Arnold batch rendering without watermarks in Maya, you need to purchase an Arnold license. Or alternatively you can render a sequence in Maya with the Render > Render Sequence command in the Render setting window; however you will not be able to use Maya while it is rendering.
______________
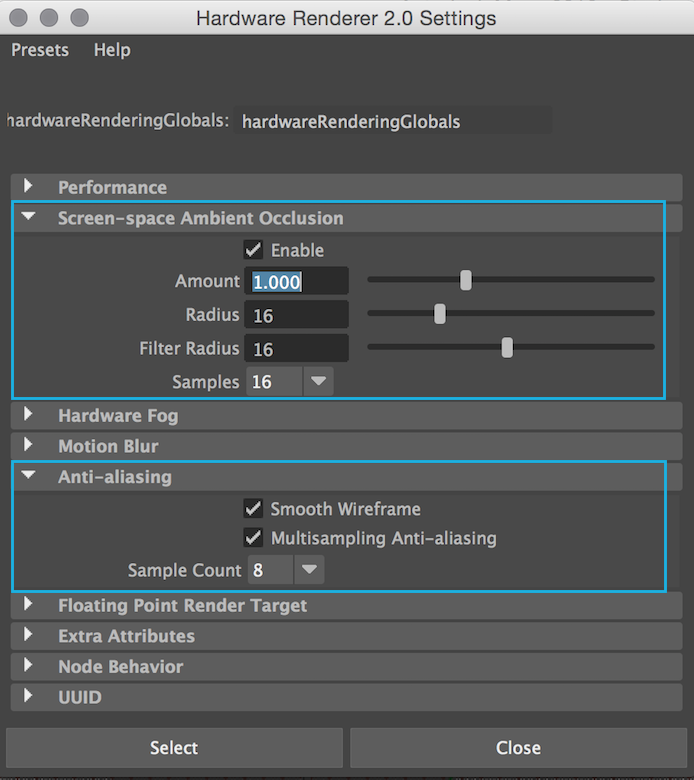
## Hardware rendering
Viewport 2.0 is the default renderer in your Maya workspace. Viewport 2.0 supports all common workflows in Maya. In addition, Viewport 2.0 provides features that are not available with the Legacy Default Viewport; for example, viewport effects such as ambient occlusion and anti-aliasing. Fidelity of lighting and materials is also much improved in Viewport 2.0. Furthermore, it provides much better performance for polygons and tessellation, and improves scene performance through the use of features such as vertex animation cache and GPU instancing. [Autodesk knowledge network](https://knowledge.autodesk.com/support/maya/learn-explore/caas/CloudHelp/cloudhelp/2016/ENU/Maya/files/GUID-2FFD2E18-DEAC-4D73-8F07-082FAD5B4A16-htm.html)
__________
## Reference
[Maya 2018 online Help](http://help.autodesk.com/view/MAYAUL/2018/ENU//)
- Art of Maya p. 75 ~ 79 [pdf link](http://web.cse.ohio-state.edu/~parent/classes/682/MAYA/art_of_maya.pdf)
______________________
# Lab
## Lab practice
Let's render using varied renders one by one to get familiar to the render view and the render settings and get to know where to study further. Save your render images into your local hard drive to post processing in different softwares such as Photoshop.
 

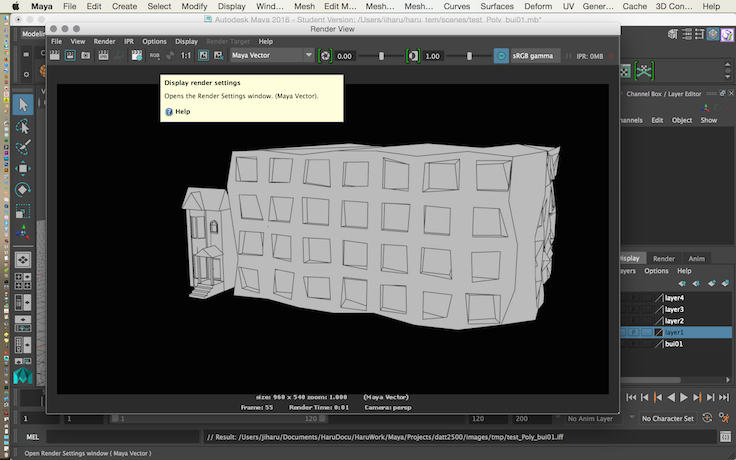
## Vector rendering

## Maya rendering
## IBL rendering using TURTLE

## Arnold rendering

________________________
# Action items
- Web tutorial: [Lynda.com: Maya 2018 essential training by George Maestri.](https://www.lynda.com/Maya-tutorials/Render-Settings-menu/604210/644614-4.html?org=ocadu.ca)
- Render in Maya.
- Render Settings menu.
- Use Render View.
- Redner in Arnold.
- Arnold render settings.
- Arnold Render View.
- Image-based lighting and skydomes.
- Art of Maya [pdf link.](http://web.cse.ohio-state.edu/~parent/classes/682/MAYA/art_of_maya.pdf)
- Rendering. p.75~79.
- **Working on the mid-term project.**
- [the mid-term project schedule.](https://docs.google.com/spreadsheets/d/1MYsRz5QS9Zssrr2_sYgd5tzey0Yd366F4_Xqz54vCNU/edit?usp=sharing)
- Practice how to share Maya files.
- Using **relative file paths**: all necessary files should be in a designated folder before calling them in Maya.
- Name and organize objects properly in your scene: have only the necessary files. If necessary, use Layers.
- You can save your file as [a Maya ASCII file](http://autodeskmaya.wikia.com/wiki/ASCII_File) to export & import in order to combine two files into one.
- The mayaAscii and mayaBinary file formats are the only ones that preserve all the information contained within your scene.